15 Small Laundry Room Decor Ideas That Make Wash Day Less Miserable (2026)
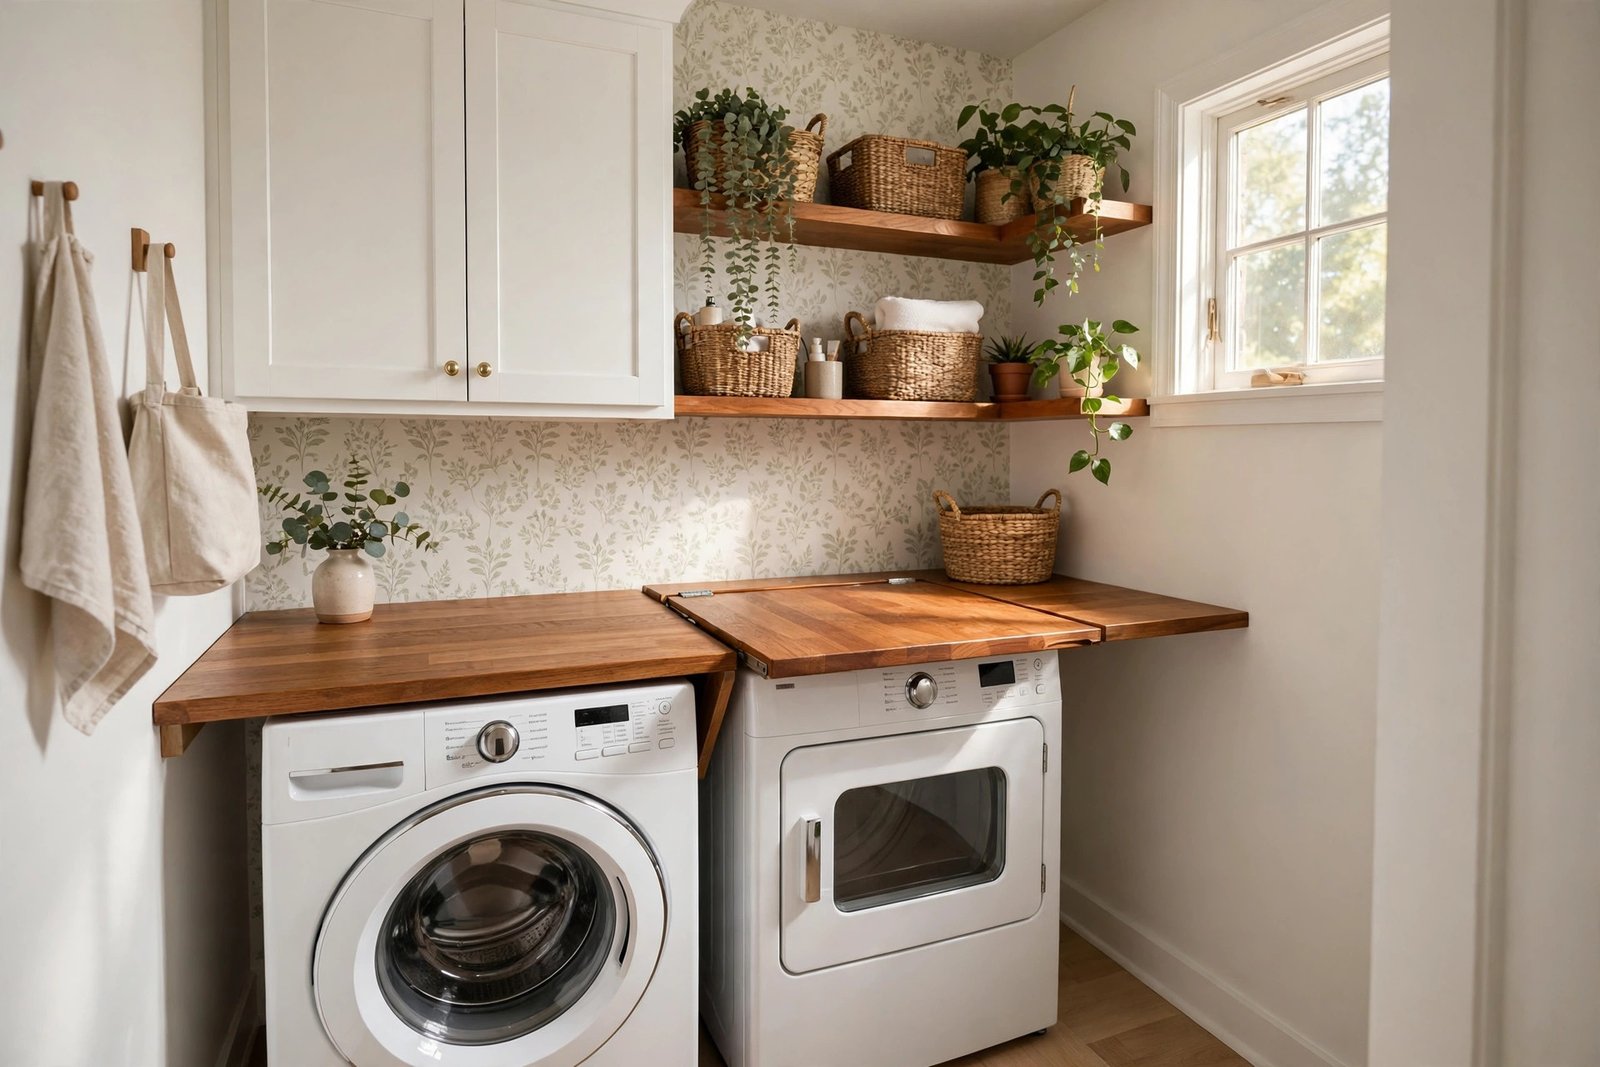
Let’s be honest: the laundry room is the room nobody designs. It’s where the beige walls, the wobbly wire shelf, and the flickering fluorescent tube go to be forgotten — and then we wonder why doing laundry feels like a punishment.
Here’s the good news: you don’t need a renovation to fix it. You need a weekend, a plan, and one of two budgets. A $50 refresh — paint, peel-and-stick, and styling — can completely change how the room feels. A $300 makeover adds real function on top: a folding counter, better lighting, hidden storage.
The short answer: start with paint and peel-and-stick (highest impact per dollar), add open shelving and a folding surface for function, then finish with baskets, art, and lighting so it feels like a room instead of a utility closet. Every idea below includes a real cost breakdown, so you know exactly which tier you’re in before you start.
The $50 Refresh vs. the $300 Makeover
| $50 Refresh | $300 Makeover | |
|---|---|---|
| Best for | Renters, tight budgets, one weekend | Homeowners, rooms you use daily |
| Core moves | Paint, peel-and-stick wallpaper or floor tile, spray paint, styling | Everything in the $50 tier + folding counter, drying rack, cabinet fronts, LED lighting |
| Time needed | 1 day | 1–2 weekends |
| Biggest win | The room feels designed | The room works better too |
| Watch out for | Landlord rules on paint (use peel-and-stick instead) | Measure twice — small rooms punish sloppy cuts |
💡 Tip: You can mix tiers. Do the $50 refresh now, then add one $300-tier upgrade (like the folding counter) whenever the budget allows. The room improves in stages instead of waiting for a “someday” renovation.
1. Paint the Walls a Color With Actual Personality
Nothing says “I gave up” like landlord beige. One gallon of paint is the cheapest transformation in all of home decor — and in a tiny laundry room, you can finish the whole job in an afternoon.
Cost breakdown: 1 gallon of quality paint ($25–$40) + roller kit if you don’t own one ($8–$12) = $33–$52. Already own supplies? You’re at $25.
Go for warm white if you want clean and timeless, sage green for calm, or dusty blue for a classic laundry feel. Dark colors work in small laundry rooms too — they make white machines pop — but keep the ceiling white so it doesn’t feel like a cave.
2. Peel-and-Stick Wallpaper on One Accent Wall
If paint feels too permanent (hello, renters), peel-and-stick wallpaper is your answer. One accent wall — usually the wall behind the machines — gives you pattern, color, and personality with zero commitment. It peels off clean when you move.
Cost breakdown: 2–3 rolls at $12–$18 each = $30–$55. Measure your wall first; most small laundry accent walls need just two rolls.
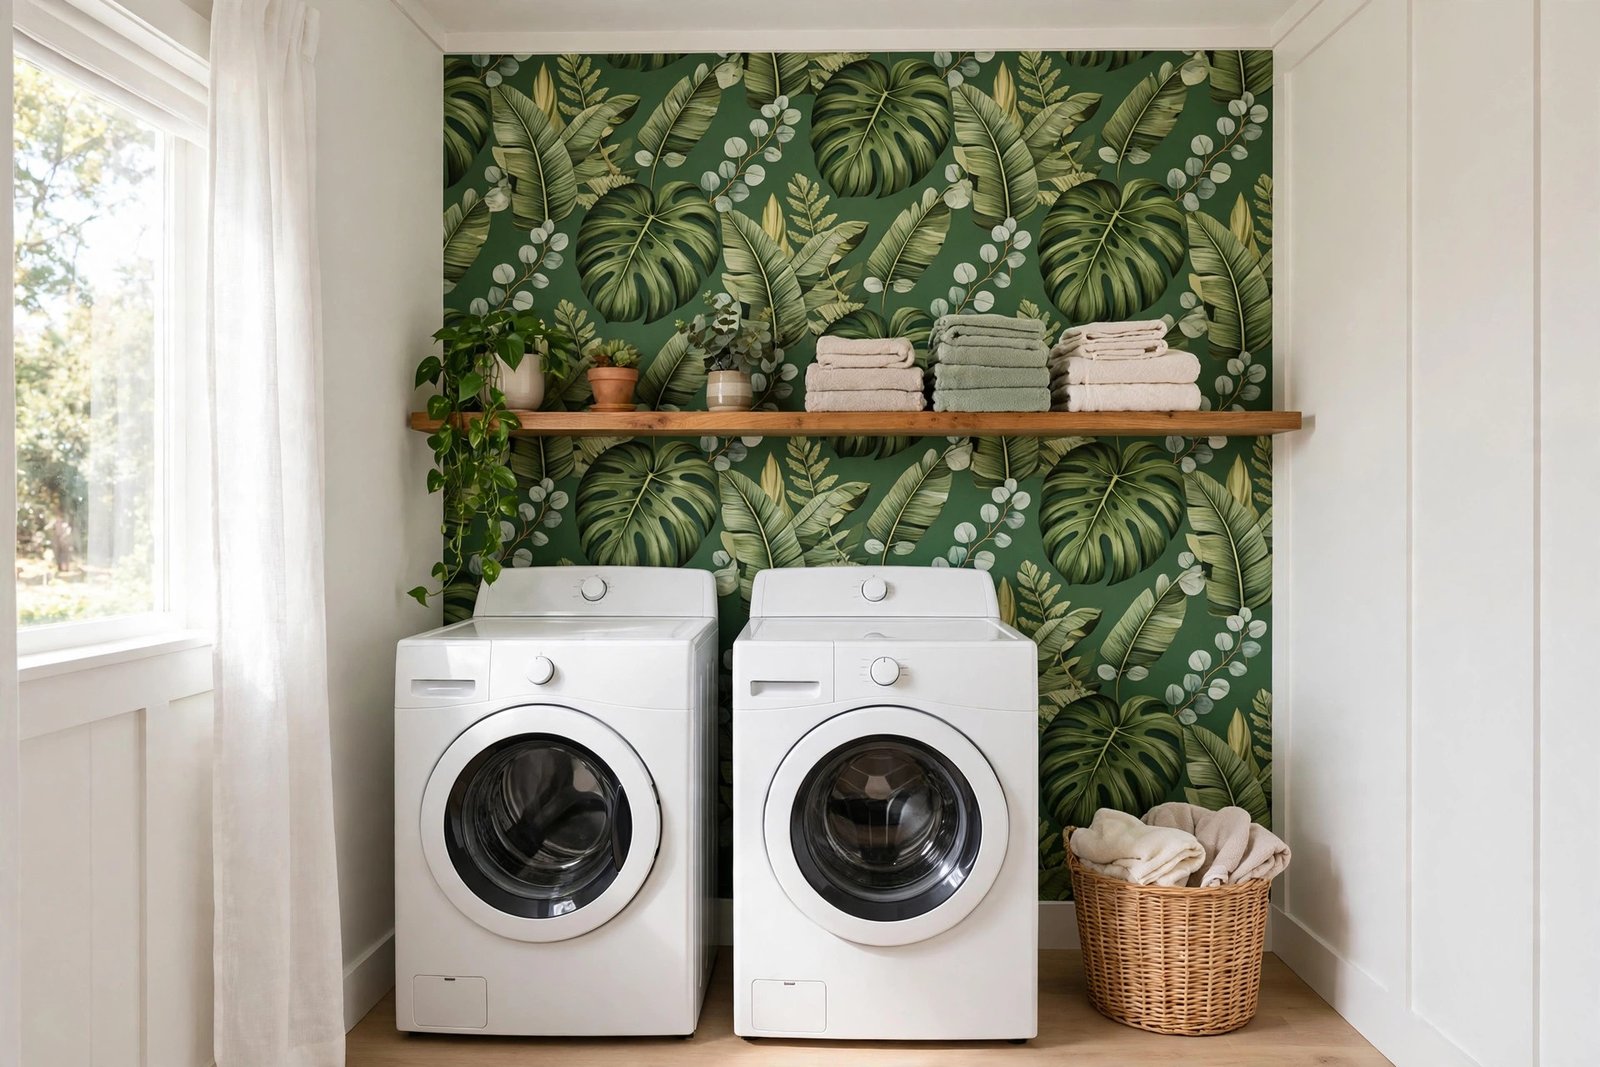
Peel-and-stick is honestly one of the highest-impact budget makeover methods out there — right up there with spray paint magic. If you want more renter-friendly tricks in this vein, my guide to DIY home decor ideas that look expensive breaks down a whole toolkit of them, from thrifted furniture flips to painted walls.
💡 Tip: Start wallpapering from the most visible corner and work outward. Small misalignments hide better at the edges than in the center of the wall.
3. Peel-and-Stick Floor Tiles Over Ugly Vinyl
The floor is the thing you look at every single time you walk in — and in most laundry rooms, it’s the saddest part. Peel-and-stick vinyl tiles go directly over old vinyl or tile, no grout, no special tools, just a utility knife.
Cost breakdown: One box of 10 tiles ($25–$40) covers about 15 sq ft. A small laundry room needs 1–2 boxes = $25–$80.

Bold black-and-white patterns are the classic choice — they hide dirt and make the room feel intentional. But here’s the thing: busy patterns also make small rooms feel smaller. If your laundry room is truly tiny (under 40 sq ft), consider a lighter pattern with more white space.
4. Open Wood Shelving Above the Machines
That dead air above the washer and dryer is prime real estate. Two simple wood shelves turn it into storage for detergent, baskets, and — yes — a little styling.
Cost breakdown: 2 pine boards ($12–$20) + 4 sturdy brackets ($12–$24) + screws and anchors ($5) = $30–$50. Stain or paint the boards to match your room.

Mount the lowest shelf high enough to clear the machine lids (at least 18 inches above a top-loader). Style the top shelf with things you rarely grab; keep daily items on the lower one. Function first, pretty second — but there’s no reason you can’t have both.
5. Add a Folding Counter Over the Machines
This is the single upgrade that changes how you use the room. A simple counter spanning front-load machines gives you a permanent folding surface — no more balancing warm laundry on the dryer lid.
Cost breakdown: One butcher-block-look board or sanded plywood, cut to size at the hardware store ($25–$45) = $25–$45. Most stores cut for free.

⚠️ Only works with front-loaders. If you have top-load machines, skip this and put your money into wall shelving instead (idea #4).
💡 Tip: Leave a 1-inch gap at the back for hoses and cords, and don’t permanently attach the board — you’ll thank yourself the day a machine needs servicing.
6. Spray-Paint Everything Ugly
Wire shelving. The vent cover. That sad builder-grade light fixture. The cabinet hinges. A $10 can of spray paint is the great equalizer of ugly laundry rooms — matte black or warm brass instantly makes cheap fixtures look deliberate.
Cost breakdown: 1–2 cans of quality spray paint ($8–$12 each) = $8–$24.

Clean and lightly sand before spraying, do thin coats, and let it cure fully. This is the highest ROI upgrade on this entire list — ten dollars, one afternoon, and the wire shelf that embarrassed you suddenly looks like an industrial design choice.
7. Swap the Cabinet Pulls and Knobs
Tiny detail, massive difference. Swapping dated brass or plastic knobs for matte black or brushed brass pulls takes 20 minutes and makes even cheap cabinets look custom.
Cost breakdown: 6–10 pulls at $2–$4 each = $12–$30. Buy a multipack — it’s always cheaper per piece.
Measure the hole spacing (center to center) before you shop, and bring one old pull to the store to match it. Pro move: if the new pulls don’t line up with old holes, fill the old holes with wood filler, sand, touch up with paint, and drill fresh. Nobody will ever know.
8. Corral the Chaos With Baskets and Labeled Bins
A laundry room with twelve half-open product bottles looks like a janitor’s closet. The same room with three matching baskets looks styled. Decant the visual chaos into containers and the room instantly calms down.
Cost breakdown: 3–4 woven or fabric baskets at $6–$12 each = $20–$45. Add a $5 label maker or chalk labels if you’re feeling fancy.
Assign every basket a job: darks, lights, delicates, cleaning supplies. The system only works if everyone in the house follows it — so keep the labels big and obvious.
9. Lay Down a Washable Runner
Cold tile underfoot at 7 AM is a special kind of misery. A washable runner adds warmth, color, and comfort — and “washable” is non-negotiable in a room built around water and detergent spills.
Cost breakdown: A 2×6 washable runner = $18–$40 from most home stores or online.
Choose a low-pile rug so the door still swings over it, and pick a pattern that hides lint. Bold patterns earn their keep here — they disguise the dryer sheets and stray socks that somehow always end up on the floor.
10. Install a Wall-Mounted Fold-Down Drying Rack
If you air-dry delicates, you know the pain: the accordion rack that eats half the floor and collapses if you look at it wrong. A wall-mounted fold-down rack disappears flat against the wall when you’re done.
Cost breakdown: A solid wood or metal fold-down rack = $25–$50. Mount into studs — wet laundry is heavier than you think.
This is a $300-tier move in spirit: it costs little but adds genuine function, which is exactly what separates a makeover from a refresh. Place it near a window or vent if you can; airflow is everything for indoor drying.
11. Hang Real Art (Yes, in the Laundry Room)
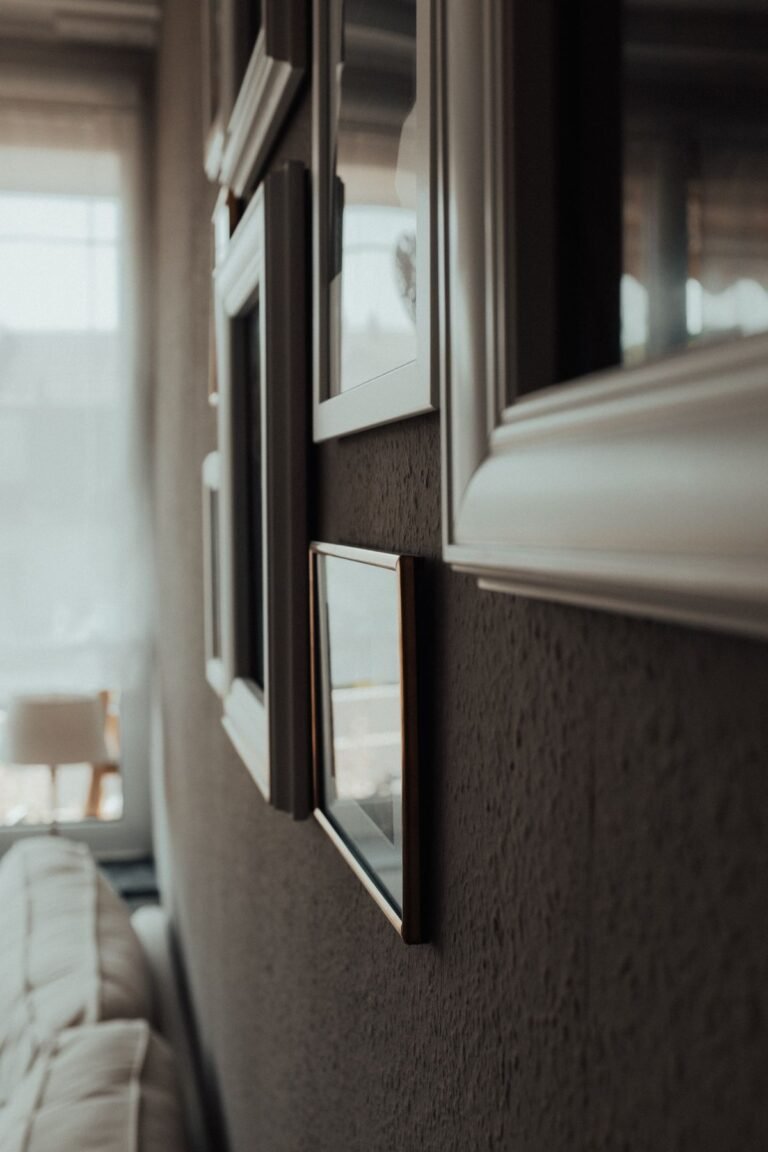
The laundry room deserves art as much as any room in the house. A framed print or two tells your brain this is a designed space, not a punishment chamber — and that psychological shift is half the battle.
Cost breakdown: Thrifted frames ($2–$5 each) + free printable art or $5 prints = $10–$25 for a small gallery.
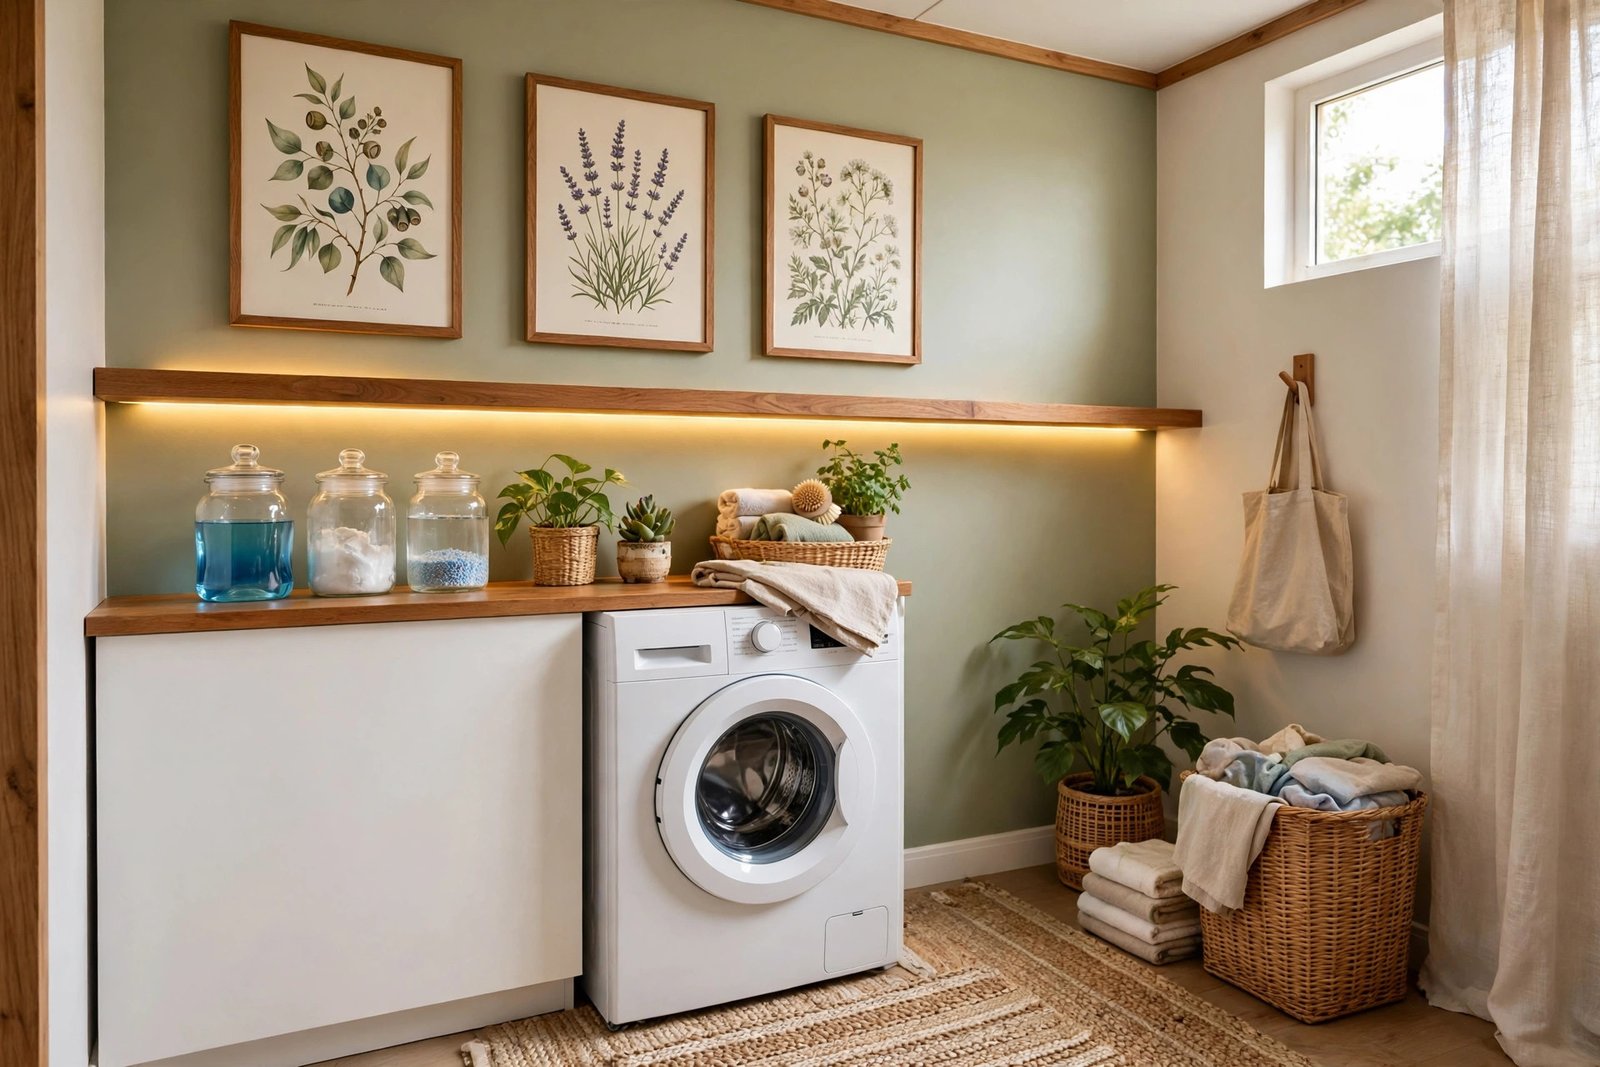
Laundry-themed prints (“Wash, Dry, Fold, Repeat”) are classic for a reason, but botanical prints or abstract art work just as well — and they age better when the novelty wears off. Keep frames away from direct steam and splashes.
12. Decant the Detergent
Nobody’s branding matches your decor. Pour detergent, pods, and dryer sheets into glass jars, ceramic canisters, or matching dispensers, and the visual noise drops to zero.
Cost breakdown: 2–3 glass jars or canisters ($4–$8 each) = $12–$25. Thrift stores are goldmines for these.
💡 Tip: Keep the original product labels tucked inside the jar or taped underneath — you’ll want the dosage instructions and the safety info someday.
This is pure styling, and that’s fine. Not every upgrade has to be functional. Sometimes making the room prettier is the whole point.
13. Add LED Strip Lighting Under the Shelves
Overhead fluorescents make everyone look like a ghost and every room feel like a laboratory. A $15 LED strip tucked under your new open shelves adds warm, flattering light exactly where you need it — over the folding zone.
Cost breakdown: One warm-white LED strip kit with adhesive backing = $12–$25. Plug-in beats hardwired for renters.
Choose warm white (2700–3000K), not daylight — daylight LEDs in a small room feel clinical. Run the strip along the front underside of the shelf so the light washes down the wall. It takes ten minutes and looks like you hired an electrician.
14. Hide the Mess Behind Cabinet Fronts (or a Curtain)
Open wire shelving full of bleach bottles is honest, but it’s not pretty. If your laundry area is visible from the hallway or kitchen, hiding the utilitarian stuff makes the whole home feel calmer.
Cost breakdown: Tension rod + curtain panel ($15–$25) or beadboard panels cut to fit as faux cabinet fronts ($40–$80) = $15–$80.
The curtain is the renter’s best friend — hang a tension rod inside the closet frame and you’re done in five minutes. Homeowners can go further with simple shaker-style fronts from the hardware store. Out of sight, out of mind, on budget.
15. Give the Ironing Station a Glow-Up
The ironing board leaning in the corner is the visual equivalent of a sigh. Mount it on the wall with a $10 hook, slip on a fresh cover in a pattern you actually like, and suddenly it’s decor instead of clutter.
Cost breakdown: Wall-mount ironing board hook ($8–$12) + new cotton cover ($10–$18) = $18–$30.

While you’re at it, hang the iron on a small hook beside it and coil the cord neatly. The goal: everything has a home. A laundry room where every tool has a designated spot is a laundry room that stays tidy without effort.
Frequently Asked Questions
How can I give my laundry room a makeover on a tight budget?
Start with the three highest-impact, lowest-cost moves: paint ($25–$40), peel-and-stick wallpaper or floor tile ($25–$55), and spray paint for ugly fixtures ($8–$12). Together that’s under $100 and covers 80% of the visual transformation. Then style with thrifted baskets, frames, and a washable runner. Skip anything structural — in a small room, surface changes do almost all the work.
How do I make a small laundry room look bigger?
Light colors, mirrors, and vertical storage. Paint walls a light warm white, keep the floor pattern subtle, and draw the eye upward with open shelving instead of bulky cabinets. A mirror on the wall opposite the door bounces light and doubles the sense of space. And declutter ruthlessly — clutter shrinks a small room fast.
What is the cheapest way to add folding space in a laundry closet?
A plywood or pine board laid across front-load machines — $25–$45, cut to size at the hardware store. It’s the cheapest folding surface that actually works. For top-load machines (where a counter won’t fit), mount a fold-down wall table ($20–$35) on the adjacent wall instead. Both beat the $150+ purpose-built laundry counters.
Stackable vs. side-by-side machines in a small laundry room — which is better?
Side-by-side wins if you have the width — you gain the folding counter on top (idea #5), which is transformative. Stackable wins if width is under 55 inches — it frees an entire machine footprint for a tall storage cabinet or hanging rod beside it.
How do I add style to a laundry room without a renovation?
Treat it like any other room. Paint, one patterned element (wallpaper or floor tile), matching containers, real art on the walls, a rug, and warm lighting. None of that requires a contractor, a permit, or landlord drama — and together they signal “designed space” to your brain every time you walk in. Style is a series of small decisions, not a construction project.
The Bottom Line
Nobody dreams about their laundry room — but everybody feels it. A room you visit three times a week shouldn’t drain your will to live. Pick your tier, start with paint and peel-and-stick, and give the most-hated room in the house the design attention it deserves.
Your weekend plan: Saturday morning, paint. Saturday afternoon, peel-and-stick and spray paint. Sunday, shelves, baskets, and art. By Sunday night, wash day will still be wash day — but at least you’ll be doing it somewhere you don’t hate.


One Comment